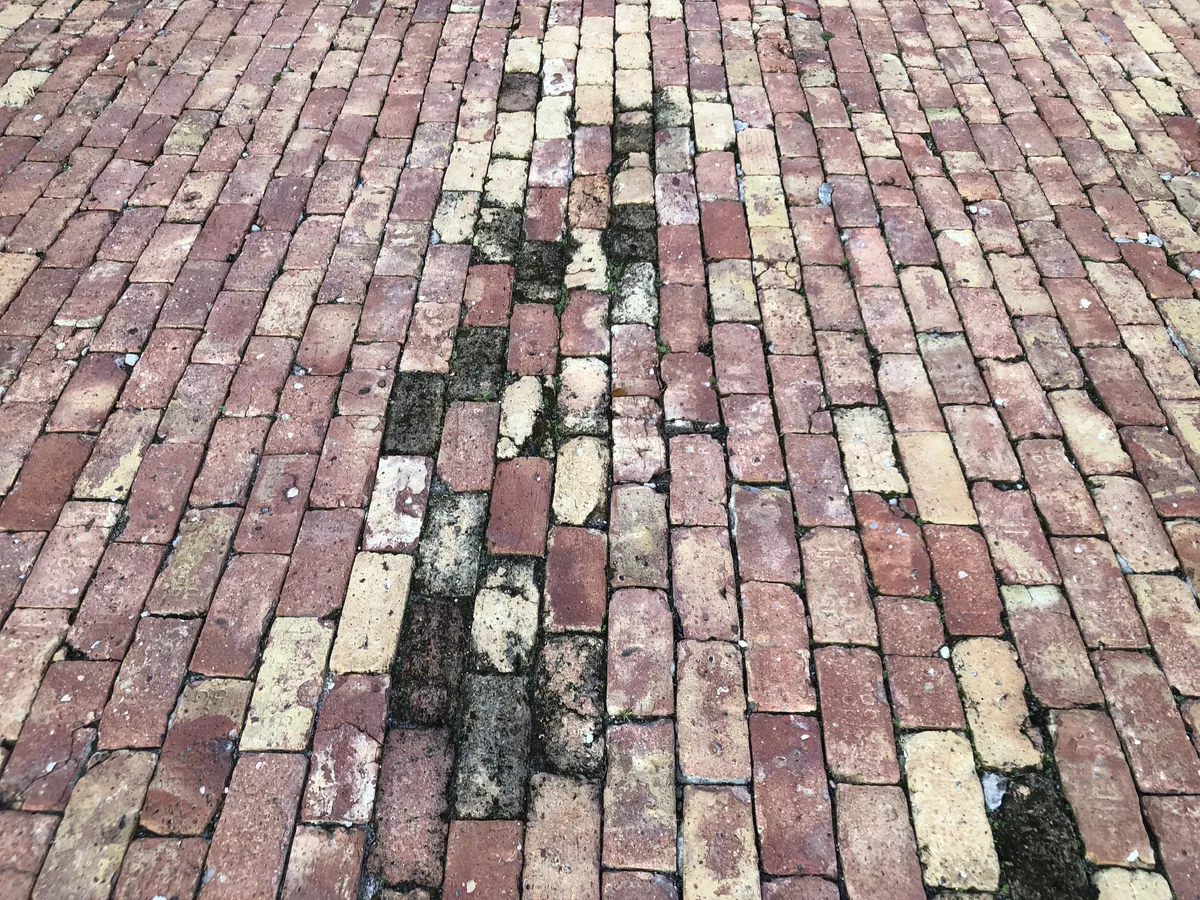
Sinking Pavers and Standing Water: What to Fix Before Sealing
Quick answer: A low spot or loose paver needs a repair evaluation before sealing. Sealer can support a suitable surface-maintenance system, but it cannot lift a sunken unit, restore the pavement slope or rebuild support beneath it. Identify where water collects and why the pavement moved, then agree on the repair before selecting the finish.
Separate a low surface from a damp surface
Pavers that stay dark after rain are not automatically sinking. Shade, irrigation and an old coating can affect drying. A depression is an elevation problem. Photograph where water collects after a normal rain and compare the area again when dry. Keep photographs from the same viewpoint so changes can be compared over time.
The Concrete Masonry & Hardscapes Association recommends using rainfall observations to identify ponding and confirming depressions with a straightedge or string line. Shadows and color differences can exaggerate a perceived height change. A physical elevation check is more informative than appearance alone.
Clues worth documenting for the contractor
A depression that follows the vehicle wheel path.
A low patch near a utility trench, drain or recently disturbed soil.
Units spreading apart along the driveway edge.
Water flowing toward a doorway instead of its intended outlet.
Fresh sand collecting near a downspout or drain.
Rocking units or raised edges on the normal walking route.
These clues guide the inspection; they do not prove a single cause. Tell the contractor when the change began, whether it is growing and whether previous releveling lasted. Mention nearby irrigation leaks, plumbing work or changes to roof drainage.
What may be happening below the pavers
CMHA identifies several possible contributors to depressions, including settlement of soil or granular base, saturation, unsuitable bedding thickness and loss of bedding material. It also identifies inadequate edge restraint as a contributor to spreading pavers. The repair depends on which part of the pavement system has failed.
Ask the contractor to explain what can be established during the initial inspection and what requires lifting units. A quote made before opening a low area should clearly state how unexpected conditions will be handled. Replacing the visible surface alone may leave the original cause unresolved.
Agree on the repair boundary and water route
Mark the affected area together. Discuss where the repaired surface should meet the surrounding pavement and how water should leave it. Include the edge, adjacent drains and thresholds in that conversation. The goal is a consistent surface with an appropriate drainage path, rather than an isolated patch that merely looks level.
Some projects need a paver installer or drainage specialist before cleaning and sealing can proceed. Water entering the house, a suspected underground leak or a rapidly developing depression warrants prompt evaluation. Limit use of unstable areas until their condition is assessed.
A practical sequence for restoration
Inspect and record: document low spots, movement, drainage and the existing finish.
Confirm the repair scope: identify the areas to open and any specialist work needed.
Correct the cause: complete the agreed support, edge or drainage work.
Restore the surface: relay suitable units and complete the specified joint system.
Check the result: review transitions and water movement before finishing.
Clean and seal: use a compatible plan once repair materials and surface conditions meet product requirements.
Keep the repair and coating scope explicit. Ask whether releveling, replacement units, base work and drainage modifications are included. Avoid assuming that every item falls within a routine cleaning and sealing price.
Joint sand and sealer have important limits
Joint maintenance matters, but adding material at the top cannot substitute for correcting lost support beneath a unit. The joint material must match the installation. Purpose-built permeable pavement requires its own maintenance plan; it should not automatically receive a conventional sand-and-sealer treatment.
Our joint-sand inspection checklist covers sand-loss observations. For surfaces that remain damp without a confirmed depression, read why pavers stay damp after cleaning.
Questions homeowners ask
Will sealing stop standing water?
A coating does not change the surface elevation or clear a blocked outlet. Review drainage before expecting sealing to solve pooling.
Can only the low area be repaired?
Sometimes, but the repair boundary must address the actual cause and connect correctly with the surrounding pavement. An inspection determines whether a localized repair is appropriate.
Should I seal first and repair later?
Discuss repairs first. Lifting units after coating can disturb the finish and create additional preparation work. Plan the physical repair and appearance work together.
Request a property-specific evaluation
Review the complete Tampa Bay paver sealing guide and our cleaning and sealing services. Call Restore Paver Company at 813-235-2551 to discuss the surface condition, repair needs and desired finish. Photographs after rain and when dry help explain what you are seeing.
Technical reference: CMHA PAV-TEC-006: Operation and Maintenance Guide for Interlocking Concrete Pavement. Installation-specific requirements and current manufacturer instructions govern the work.
