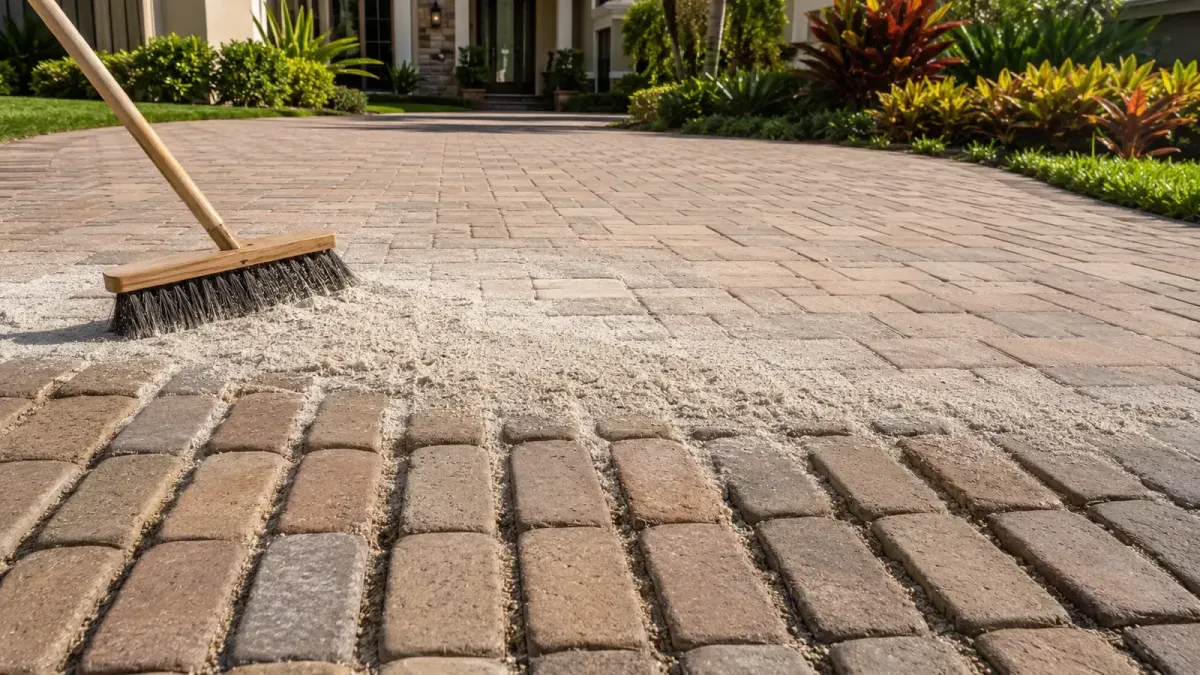
Paver Joint Sand Stabilization: The Complete Florida Guide
Quick answer: Long-lasting joint stabilization requires full-depth preparation, a sand selected for the installation, proper filling and compaction, clean paver faces, correct activation when polymeric sand is used, or a compatible joint-stabilizing sealer when angular sand is used. A thin decorative layer at the top of an empty joint will wash out regardless of marketing claims.
Key takeaways
- Joint depth and density matter more than how full the joints look from above.
- Polymeric sand and angular sand with stabilizing sealer are different systems, not interchangeable labels.
- Drainage, downspouts, sprinklers and pressure washing can defeat otherwise good joint work.
- Stabilization inhibits weeds and ants; it does not permanently eliminate them.
- The sand and sealer manufacturers’ installation details control compatibility and timing.
How this guide was prepared
This guide combines Restore Paver Company’s Tampa Bay field-evaluation process with current hardscape-industry maintenance guidance and manufacturer technical requirements. Product requirements vary; the exact surface, coating history and current data sheet control the final scope.
What joint sand actually does
Joint sand transfers load between interlocking pavers, helps keep units aligned and fills the vertical space that would otherwise collect debris. It is not the same as the bedding layer beneath the pavers. When joints empty, edges lose support, pavers can move under turning traffic and water has a more direct path into the system.
Stabilization adds resistance to erosion and disturbance. It does not turn the joint into structural concrete, replace edge restraints or repair a failed base.
Why shallow top-offs fail
Loose material and organic debris must be removed to the depth required by the selected joint system. Sweeping new sand over a shallow, compacted or contaminated joint creates a cap with little mass. Traffic, rain or cleaning can dislodge it quickly.
Narrow joints require extra care because bridging can make the top appear full while voids remain below. Compaction and repeated filling help dense material settle. Manufacturer details for minimum depth and final sand elevation should be followed.
Three common joint approaches
| Approach | How it stabilizes | Best fit depends on | Critical control |
|---|---|---|---|
| Traditional angular joint sand | Interlock from fractured grain shape | Maintenance plan and pavement design | Depth, density and erosion exposure |
| Polymeric sand | Factory binder activates with water | Joint width, depth, base and weather | Dry placement, compaction, dust removal and correct watering |
| Angular sand plus stabilizing sealer | Liquid resin penetrates and binds the upper joint | Sealer design, sand gradation and desired finish | Compatible product, saturation, coverage and cure |
The polymeric vs angular-sand comparison explains the tradeoffs in detail.
A professional resanding sequence
- Inspect movement, edge restraints, base symptoms and drainage before removing material.
- Clean the paver surface and remove unstable joint material without excavating the bedding layer.
- Allow the pavement to meet the sand system’s moisture condition.
- Install compatible sand in lifts, working it into narrow joints.
- Compact where required and repeat filling until joints are dense.
- Set the final elevation below the paver face or chamfer as specified.
- Remove every trace of residue from paver faces.
- Activate polymeric binder or apply stabilizing sealer according to the chosen system—not both by assumption.
- Protect from water and traffic for the required cure.
Drainage determines whether the repair lasts
Roof discharge, downspouts, irrigation heads and low spots create concentrated water. Even stabilized joints can erode when water repeatedly lands in the same place. On overlay systems, trapped water beneath the pavers can pump joint material under traffic.
Correct the source before refilling the symptom. The joint-sand washout and drainage guide shows how to trace recurring patterns.
Weeds and ants: what stabilization can promise
Removing roots and organic matter, filling joints densely and stabilizing them makes the environment less favorable for germination and excavation. It also reduces the loose sand ants move to the surface.
Windblown dust can collect above a stabilized joint, seeds can grow at edges and insects can exploit cracks or disturbed areas. Promise inhibition and easier maintenance, not permanent prevention. See the weeds and ants guide.
How pressure washing damages joints
A narrow high-pressure tip or surface cleaner operated too aggressively can empty joints even when paver faces look clean. Repeated cleaning also lowers sand elevation until water and traffic strike the joint directly. CMHA maintenance guidance identifies pressure washing as a possible cause of joint-sand loss.
Use compatible cleaner, controlled pressure and enough distance to let chemistry and dwell do the work. Restore joints when the final elevation no longer meets the system requirement.
Coordination with paver sealing
Some film-forming sealers are designed to bind compatible joint sand. Others protect the paver face but do little for the joint. Polymeric sand may require a separate cure before a coating is applied, and some combinations are not recommended. Read both manufacturers’ current instructions.
The complete paver-sealing guide explains how cleaning, joint preparation and coating fit into one scope. Weather timing is covered in the Florida rain and cure guide.
What a resand-and-seal proposal should specify
- Existing joint condition and required removal depth
- Sand manufacturer, product or specified gradation
- Compaction and final joint elevation
- Drainage and edge corrections included or excluded
- Polymeric activation or joint-stabilizing sealer method
- Coating compatibility, finish and measured coverage
- Protection from rain, irrigation, foot traffic and vehicles
- Expectation for weeds, ants and future maintenance
To plan a Tampa Bay project, review Restore Paver Company’s services, see the project gallery, then request a free quote or call (813) 235-2551.
Frequently asked questions
How deep should paver joint sand be?
Depth depends on the paver and joint system. Polymeric-sand manufacturers commonly specify a minimum filled depth and final elevation below the chamfer. Follow the selected product’s current detail.
Can new sand be swept over old sand?
Only when the existing joint is clean, stable and deep enough for the specified system. Shallow contaminated top-offs are vulnerable to early loss.
Does sealer harden all the sand to the bottom?
Penetration depends on product design, sand, joint depth, coverage and application. Use a sealer specifically designed for joint stabilization and follow its coverage method.
Why did polymeric sand leave haze on the pavers?
Residual dust can activate on the paver face when it is not completely removed before watering. Damp placement and overwatering can also contribute.
Will stabilized sand stop pavers from moving?
It helps joint performance but cannot correct base failure, missing edge restraint, severe settlement or rocking pavers.
Related paver guides
- Polymeric Sand vs Angular Paver Joint Sand
- Does Paver Sealing Prevent Weeds and Ants?
- Why Is Paver Joint Sand Washing Out?
- Paver Sealing in Tampa Bay: The Complete Homeowner Guide
- Paver Sealer Dry Time, Cure Time and Rain in Florida
- How Often Should Pavers Be Resealed in Tampa Bay?
Request a Tampa Bay paver evaluation
Restore Paver Company provides paver cleaning, joint sanding, sealing, failed-sealer repair and natural-stone care. Review our paver restoration services, see the project gallery, or request a free quote. You can also call (813) 235-2551.
Technical references
Installation requirements vary by material and product. Always follow the current label and technical data sheet for the exact cleaner, joint material and sealer used.
- Concrete Masonry & Hardscapes Association — PAV-TEC-005: Cleaning, Sealing and Joint Sand Stabilization
- Concrete Masonry & Hardscapes Association — PAV-TEC-006: Operation and Maintenance Guide
- Alliance Gator — Gator SuperSand G2 Technical Data Sheet
- Techniseal — WL-87 Joint-Stabilizing Sealer Technical Data Sheet
